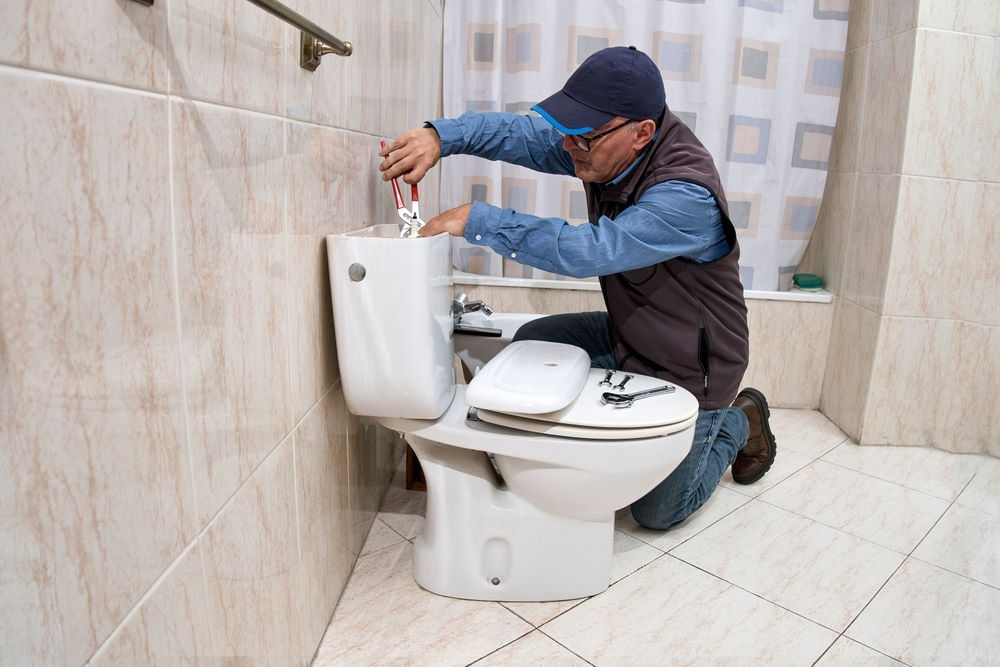
Installing a toilet may seem like a daunting task, but with the correct tools, materials & some patience you too could complete this DIY home improvement project. Whether you’re replacing an old toilet or installing one in a new bathroom, this comprehensive guide will walk you through the entire process.
What you will need:

- Adjustable wrench
- Channel-lock pliers
- Hacksaw (if necessary)
- Level
- Measuring tape
- Putty knife
- Screwdriver
- Sponge or shop vac
- Wax ring or wax-free seal
- Toilet bolts and caps
- Toilet flange
- Toilet tank and bowl
- Water supply line
- Plumber’s tape
- Silicone caulk
Step 1: Remove the Old Toilet
Shut off the Water Supply: Find a valve located behind your toilet and turn clockwise to shut-off water supply. Push the flush handle and let all of the water from both tank and bowl run out. Wipe or absorb any leftover water using a sponge, centrifuge vacuum cleaner.
Disconnect the Supply Line: Use an adjustable wrench to disconnect the flexible water-supply line that connects hot and cold lines from a hole in rim of bowl (but exclude lines between dual stops below tank) at bottom-right corner on rear side.
Remove the Toilet: Unscrew bolts on both sides that secure your toilet to floor bolts Rock the bowl back and forth gently to break the seal, then lift it off of its bolts and set aside. If the toilet is heavy, get someone to help or you may hurt yourself. Use a rag and stuff it into the drainpipe (to stop sewer gases from entering your house through there).
Clean the Flange: Scrape away the old wax ring from the flange using a putty knife. Inspect the flange for damage. If it’s cracked or broken, replace it before proceeding.
Step 2: Prepare For The New Toilet
Install New Toilet Bolts: Insert new toilet bolts into the flange slots. Ensure they are evenly spaced and aligned with the toilet’s bolt holes.
Position the Wax Ring: Place a new wax ring or wax-free seal on the toilet flange. Some seals attach directly to the flange, while others attach to the toilet outlet.
Step 3: Install the New Toilet
Step 5: Set the Toilet Bowl – Gently set the toilet bowl down on to flange, making sure that bolt holes line up with bolts. Tightly press down to make sure the wax ring seals well. Do NOT twist or rock the toilet with yours hands -!
Fasten the Toilet Tank: Slide washers and nuts or bolts onto toilet bowl. You can use an adjustable wrench to tighten the nuts, but do not overtighten or you may risk cracking porcelain. Cut any protruding bolt shafts with a saw if necessary, and then snap on the shroud.
Assembly the Toilet Tank(Optional): If you purchased a tank separately, Install it on to your Bowl. Set the tank gasket on the bottom of the tank, then place a bowl bolt in each hole also even with that base holes. Bolt it together with washers and nuts, tighten evenly so you do not get any leaks. Ensure that the tank is level and make adjustments if required.
Step 4: Connect the Water Supply
Connect: Best way to narrow down iPhone 11 case choices may be with a sleek & clear. [ + ]Step DoneAttach the Water Supply Line Connect water supply line to fill valve at bottom of tank. Thread it onto the valve and tighten by hand, then turn an extra 1/4 revolution with an adjustable wrench. Things to remember: Do not overtighten and break the fill valve.
Water the water supply: Turn around by turning onthe shutoff valve. Have the tank fill up and look for leaks at the base, water supply connection. If you do see a leak, simply tighten the pipe inserts as required.
Step 5: Test the Toilet
Flush the Toilet: When it comes to operation, flush the toilet when you have full water in your tank. Leaks at bottom, leaks around tank bolts Adjust the Fill Valve or Flapper if toilet not flushing properly hearing running water
Make Safety Check: To be sure the toilet is not wobbly. Or it may require shimming underneath the base to level. After the bowl is secure, run a bead of silicone caulk around perimeter at base to seal toilet to floor.
Step 6: Finishing Touches
Place the Toilet Seat: Fit and secure/enhance the toilet seat with bolt or locks.accessToken Installation Guide Fix the bolts tightly, but do not over-tighten to avoid splitting of the seat.
Cleaning Up: Take away the tools and any debris from this location Clean the seat of toilet and a portion of ground next to it.
Tips and Troubleshooting
Choosing The Best Toilet: You decide for example the height of your new toilet, bowl shape or the water effiency. Don’t forget to measure the rough-in dimension (distance from wall to center of flange) as all well, so that you know if there are any compatibility issues or need special positioning.
Replacing a Flange: replace the flange by using a flange repair kit, or installing an entirely new one if it is damaged. Make sure it is fixed to the floor and horizontal.
Wax Ring vs Wax-Free Seal: Wax rings are the standard option and certainly better sealed but very messy. No sticky rings, and you can…uninstall your toilet without having to replace the seal.
Preventing Leaks: Allow extra time to thoroughly tighten bolts and connections; overtightening can lead to cracks or leaks. Wrap plumber’s tape around threaded connections to create a leak-proof connection.
The professional assistance If you find out any difficulties or have a doubt on process so allow the way for Byzantine plumbing trouble. Even if doing it yourself seems like a good idea, you are better off just getting help then having to buy another new toilet because the one your bought is now ruined and so on.
By DIYing a simple toilet installation, you will be able to save quite a penny on labor costs. With this easy-to-follow guide and a little patience to do it as instructed, you can have an operational toilet without leaks. Check it for leakage and the status of its stability after installation, in case anything needs professional attention. You can have a new toilet installed and working like a dream in no time with the proper approach.

